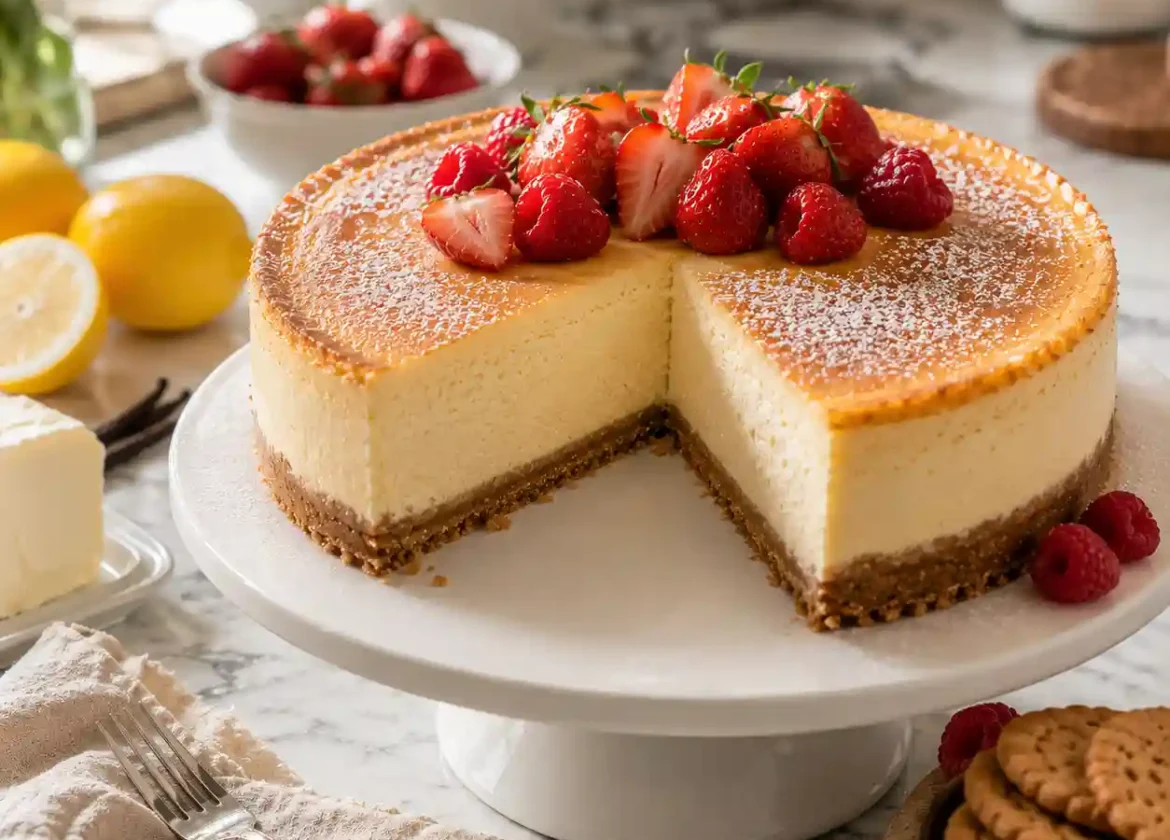
Mary Berry New York Cheesecake Recipe If you have ever wanted a dessert that feels a bit special without being complicated, Mary Berry’s New York Cheesecake is the one to try. It’s a rich, creamy cheesecake with a buttery biscuit base, a silky texture, and just enough tang to keep it from feeling too heavy. Unlike a lot of fussy bakes, this one is genuinely beginner-friendly, which is probably why it has become such a crowd favourite in so many British kitchens.
I’ve made this New York-style cheesecake more times than I can count, for birthdays, dinners, and just because I fancied something sweet on a Sunday. What I love is that it always turns out looking like something from a bakery-style display, even though the method is simple enough for a first-time baker. Whether you serve it plain or dress it up as Mary Berry’s New York Cheesecake with Strawberries, it’s a reliable recipe that never seems to let anyone down.
Introduction / What Is Mary Berry’s New York Cheesecake?
At its heart, this is a classic vanilla baked cheesecake made from a handful of honest ingredients: full-fat cream cheese, eggs, sugar, and a touch of lemon for balance. The vanilla flavour comes through properly here, whether you use vanilla extract, vanilla seeds scraped from a vanilla pod, or good vanilla essence, giving that real vanilla taste that cheaper cheesecakes often miss. Sitting on a buttery biscuit base, the filling is baked low and slow, which is the real secret to its silky texture and maximum creaminess.
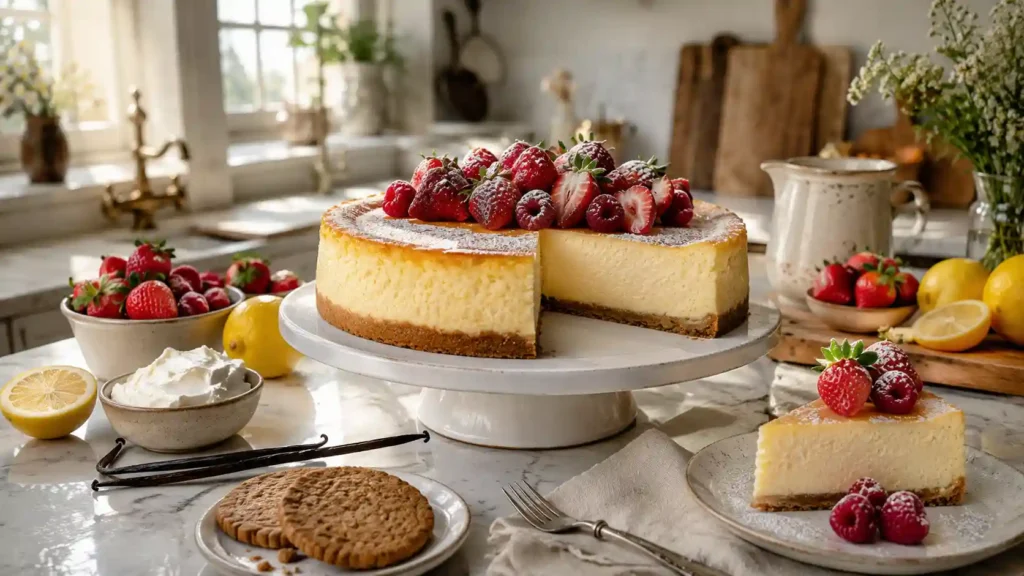
This is very much a baked cream cheese dessert, not a set-in-the-fridge shortcut, and that’s exactly why it tastes so good. Baking it slowly gives you a dense, satisfying cheesecake with a balanced flavour and just a hint of citrus running through the creamy texture. Once it’s served chilled, the smooth filling firms up into a proper firm texture, and you get that classic American diner feel in every slice. It’s quality ingredients and a bit of patience with the baking technique, rather than anything complicated, that makes this a genuinely traditional cheesecake.
Why This Recipe Is Worth Trying
What makes this classic New York-style cheesecake stand out is how little fuss is involved for such an impressive dessert. Mary Berry’s version uses a water-free baking method, so there’s no faffing about with a water bath, yet it still avoids cracks, sets beautifully, and slices cleanly every time. For a creamy filling with this much wow-factor, the simple method and straightforward steps feel almost too good to be true.
I’d genuinely call this a stunning centrepiece for birthdays, dinner parties, or any kind of gatherings where you want something that looks like it took hours. It also happens to be a brilliant make-ahead dessert — it keeps well in the fridge for days, so you can bake it well before the day and just relax. Between the homemade cheesecake charm and the professional finish, it’s easy to see why this family dessert turns up again and again whenever people are entertaining.
No-Bake Versus Baked Cheesecake
If you’ve only ever made a no-bake cheesecake, this baked cheesecake will feel like a different dessert altogether. A no-bake cheesecake tends to have a lighter texture, closer to a mousse-like texture, because it relies on the fridge set rather than the oven. A New York-style cheesecake, on the other hand, has a dense texture and creamier texture that only comes from proper baking — think American style rather than British style.
The difference really comes down to the cream cheese mixture itself. In a baked version, the mixture needs to hold shape and bake into a thick consistency, while a no-bake filling just needs a smooth filling that’s sliceable filling once chilled, with no oven involved at all. Neither method is wrong, but if you want that classic dessert preparation with a professional results finish, baking wins every time — it’s simply a different one of the two main cheesecake methods.
Ingredients
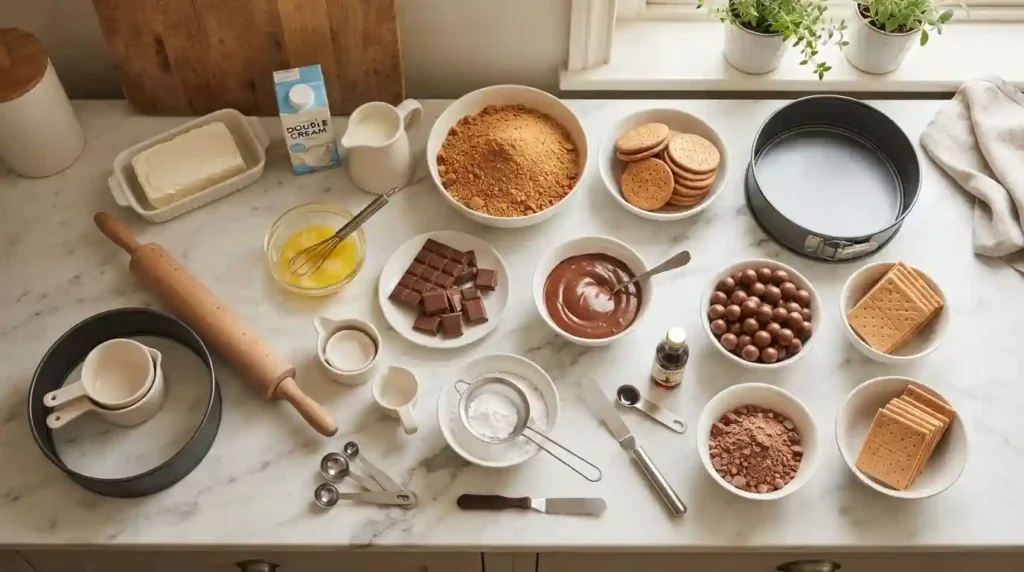
| Ingredient Category | Ingredients |
|---|---|
| Biscuit Base | Digestive biscuits, crushed biscuits, unsalted butter, melted butter, butter, demerara sugar |
| Cheesecake Filling | Full-fat cream cheese, cream cheese, caster sugar, golden caster sugar, sour cream, double cream, plain flour, cornflour, vanilla extract, vanilla, eggs, beaten eggs, lemon zest, lemon juice, unwaxed lemon |
| Fruit Topping | Strawberries, raspberries, fresh berries, berry compote, berry coulis, strawberry jam, raspberry jam, fruit topping, optional glaze, icing sugar, icing sugar dusting |
| Ingredient Groups | Dairy, baking ingredients, citrus, fruit, sugar, butter, eggs |
Essential Kitchen Tools / Essential Kit
You don’t need a cupboard full of gadgets for this bake, but a couple of things do matter. A 20cm springform tin or 23cm springform tin — ideally a loose-bottomed springform tin — makes turning the cheesecake out so much easier, and it’s worth lining it with baking paper or baking parchment every time. Beyond that, a food processor speeds up crushing the biscuits, though a rolling pin and a sturdy bag do the job just fine too.
For the filling, an electric hand whisk or electric whisk saves your arm and keeps the mixture smooth without overworking it. Keep a spatula and a palette knife nearby for spreading and smoothing, plus mixing bowls, a cooling rack, and some cling film for chilling overnight. None of this is specialist baking equipment — it’s the sort of baking utensils most kitchens already have, which is part of why this recipe feels so approachable.
Method / How to Make Mary Berry New York Cheesecake
Start by heating the oven to 160°C (140°C Fan, Gas 3), then grease tin and line tin with parchment paper. Mix your crushed biscuits with melted butter, press the mixture firmly into the base — press firmly really does matter here — then pop the biscuit base in the fridge to chill while you get on with the filling.
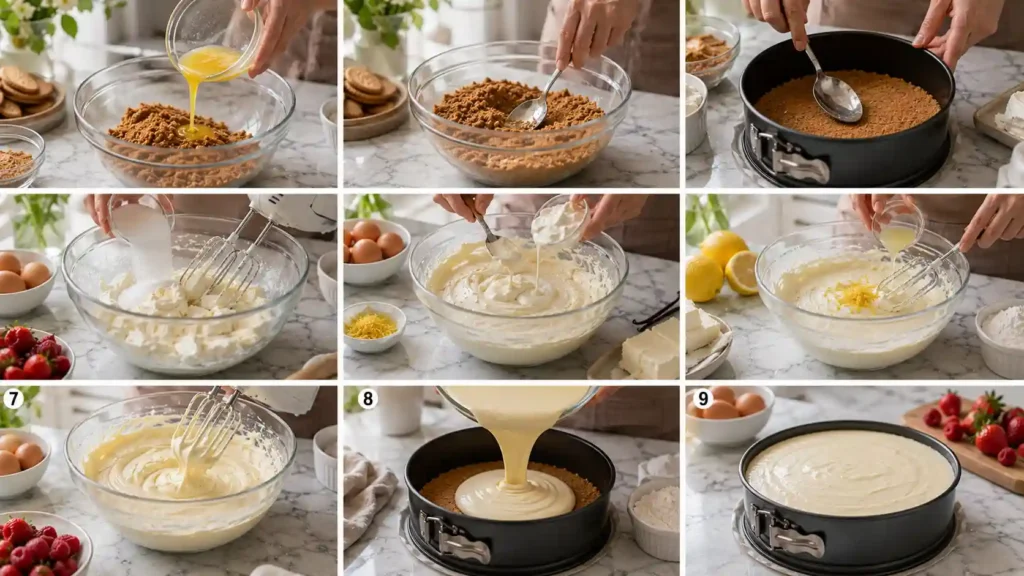
For the filling, beat the cream cheese with sugar, vanilla extract, lemon zest, and lemon juice until smooth, then fold in the sour cream, plain flour or cornflour, and eggs, mixing gently to avoid overmixing and avoid excess air. Pour this smooth filling over the chilled base, smooth the top, and bake for around 50–60 minutes, until the edges set but there’s still a slight centre wobble. Turn the oven off and let it cool gradually with the oven door slightly open to prevent cracking, then refrigerate for overnight chilling before you decorate with sliced strawberries, raspberries, or a spoon of berry topping.
Expert Tips / Mary’s Tips / Top Tips
One thing I always tell people is to make ahead — this cheesecake genuinely tastes better after resting, and it even freezes well if left undecorated, so you can decorate on the day you plan to serve it. Always use room-temperature ingredients, especially the cream cheese, since cold full-fat cream cheese straight from the fridge is the main reason people end up with lumps. Proper brands like Philadelphia tend to give the most reliable results, whereas low-fat cream cheese can leave the filling watery.
When it comes to mixing, go slowly to avoid lumps, and if you’re adding cold double cream, whip it to soft peaks before you fold gently into the batter. Avoid overmixing and excess air, since both are common causes of a cracked top. Cooling slowly is just as important as baking — it’s the real trick to prevent cracks — and giving it a full four hours minimum, ideally overnight chilling, is what gives you that lovely firm texture and a sliceable cheesecake every single time.
What I Got Wrong (And How I Fixed It)
The first time I made this, I ended up with a cracked top because I pulled the cheesecake straight out of a hot oven — I hadn’t realised cooling slowly was non-negotiable, not optional. Once I started leaving it in the oven with the door ajar, the cracks disappeared completely. Another time, I mixed the filling too fast and ended up with a grainy texture, which taught me that low-speed mixing really is worth the extra couple of minutes for a smooth filling.
I also learned the hard way that a rushed biscuit base falls apart the moment you slice it — mine literally had the base broke apart on me at a dinner party, all because I hadn’t spent long enough pressing tightly into the tin. And if your cheesecake too soft in the middle, it usually just needs longer in the fridge; skipping the full overnight chilling is the most common reason it won’t hold a perfect set. These little bits of troubleshooting taught me more about texture and consistency than any recipe card ever could.
Healthier Version
If you want the homemade cheesecake feel without quite so much guilt, there’s absolutely no reason you can’t lighten this one up with a sensible baking adaptation. The trick is swapping out the reduced-fat cream cheese for part of the mix and bringing in some Greek yogurt, which gives you a creamy filling that’s genuinely lovely without tasting like you’ve compromised. You can also use less cream overall and cut back on the reduced sugar — honestly, a squeeze of lemon gives you such bright flavour that you won’t miss the extra sweetness as much as you’d think.
This lighter version ends up being a proper balanced dessert rather than a true healthy alternative that tastes like cardboard, which is the sweet spot really. The lower fat content means it won’t feel quite as heavy after dinner, making it perfect if you want something homemade cheesecake that doesn’t leave you absolutely stuffed. It’s still rich enough to feel special, just without the afternoon energy crash that sometimes follows a standard slice.
Ingredient Substitutions
Here’s where you get to be creative without breaking anything fundamental. If you haven’t got digestive biscuits, graham crackers work perfectly well as your biscuit substitute — they’re slightly sweeter and give a different texture, but nobody’s going to complain. For the filling itself, mascarpone creates a richer filling, while sour cream or plain yogurt will give you a creamier filling with a bit more tang, depending on which way you want to push the flavour.
On the citrus front, orange zest brings a sweeter citrus note if you fancy a change from lemon, and a tiny bit of almond extract paired with vanilla does something rather lovely that most people can’t quite put their finger out. These baking substitutions turn this into more of a recipe variation that still feels like the classic dessert rather than a completely different thing. It’s all about these alternative ingredients and understanding which ones will give you a cream cheese alternative that still delivers that creamy filling you’re after.
Creative Ways to Customize
This is honestly where the fun starts, because once you’ve nailed the basic recipe, the cheesecake becomes a canvas for whatever you fancy. A chocolate swirl through the filling is gorgeous, or you could go full chocolate cheesecake if you want something richer. Lemon curd swirled in adds elegance, while a raspberry layer between the biscuit base and filling is absolutely stunning when you cut into it.
If you’re feeling playful, crushed Oreos folded into the top layer gives you instant cookies and cream, and switching to ginger nut biscuits or Hobnobs for the base changes everything overnight. Some people love topping theirs with white chocolate shavings, others go for dark chocolate drizzles, and if you want something festive, a spiced biscuit base and holiday flavours make it feel like a festive dessert worthy of December dinner tables. The real magic is in understanding that customization like this is just thoughtful creativity and variation — it’s not reinventing the wheel, just adding your own twist.
Serving Suggestions / Pairing Ideas
The traditional route of fresh strawberries or raspberries on top never gets old, but if you want to elevate it, a homemade berry compote or shop-bought berry coulis drizzled around the plate looks absolutely professional. A generous dollop of whipped cream on the side is never going to hurt anyone, and a caramel drizzle adds warmth if you’re serving it in winter. A light grating of lemon zest right at the last second, a pour of fruit syrup over macerated fruit, or a scatter of your best berries and fruit topping all shift it from everyday to truly elegant presentation.
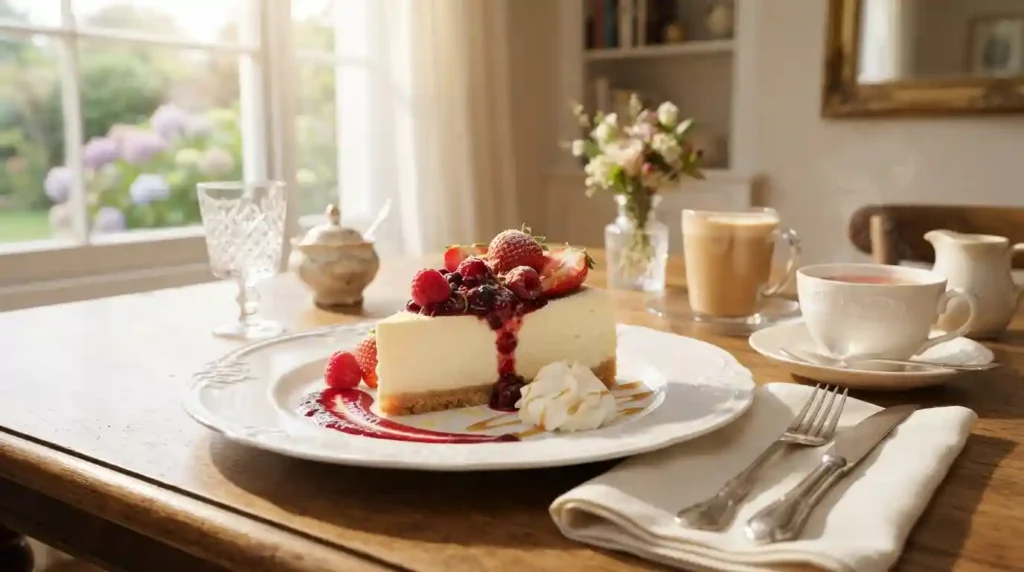
When it comes to drink pairings, think beyond wine — coffee and a slice feels luxurious, while a pot of tea is absolutely lovely if you want something lighter. For entertaining and family dessert occasions, the chilled dessert served on good plates becomes an automatic showstopper because of how it looks. A proper garnish and thoughtful presentation cost nothing but make the whole thing feel restaurant-quality, which is exactly what this classic dessert deserves.
Storage
The cheesecake genuinely keeps brilliantly, which is why it’s such a smart make-ahead dessert. Keep it in an airtight container in the refrigerator (not sitting loose on a shelf), wrapped tightly in cling film or foil to preserve freshness and stop it picking up fridge smells. At room temperature, it will hold for a couple of hours if you’re serving guests, but otherwise, straight into the fridge is where it belongs, where it’ll easily last 3 days or even 4–5 days without any bother.
If you want to freeze it, the trick is to freeze slices individually rather than the whole thing, wrapping each one carefully so it doesn’t get freezer burn — it’ll keep for around 2 months this way. When you’re ready, thaw overnight in the refrigerator and it comes back to life beautifully, though if you’ve already topped it with fresh topping, add those only once it’s thawed. This cheesecake storage approach means you can have freezer storage ready to go, making refrigeration and freezing genuinely practical for busy lives.
Notes
A few small things make all the difference between good and genuinely lovely. Always use full-fat cream cheese straight from the pack (not softened) rather than trying to warm it up, get all your ingredients to room temperature before you start, and if you’re whipping cold double cream into the filling, whip it properly to soft peaks first rather than just folding in liquid. The biggest mistake is overmixing once everything’s combined — gentle folding is all you need to keep the texture light and prevent excess air getting trapped.
Press that biscuit base properly using a flat glass or the bottom of a measuring cup, because a loose base falls apart when you slice. Overnight refrigeration is non-negotiable if you want a firm cheesecake that will slice cleanly without falling to bits — there’s no shortcut here that works. Pay proper attention to this preparation and you’ll have a creamy filling with that perfect smooth texture every time, which is honestly what separates a good cheesecake from a truly memorable one.
Nutrition / Nutritional Breakdown
Per slice (assuming a standard 12-slice cheesecake), you’re looking at roughly 420 kcal, with about 28g Fat (around 18g Saturated Fat), 38g Carbohydrates, 8g Protein, and 180mg Sodium. The Sugars come in at around 32g, which sounds like a lot until you remember this is a proper indulgent dessert, not everyday eating. These nutritional information figures are approximate values because they depend on exact portion sizes and which specific brands you use.
If you do the reduced-fat cream cheese and Greek yogurt swap mentioned earlier, you’ll bring the fat and calorie count down notably, though nutrition facts vary wildly depending on which products you pick. The Calories in a lighter version might drop to around 320–350 per slice, with lower fat and sat fat totals. These approximate values are just guides — if you need exact nutritional breakdown details, it’s worth inputting your actual ingredients into a proper nutrition calculator, since every ingredient choice shifts things slightly.
Mary Berry New York Cheesecake Recipe (FAQs)
Is this a baked cheesecake or a no-bake cheesecake?
This is a baked New York cheesecake. Baking gives it its signature dense, rich, and creamy texture. A no-bake cheesecake is much lighter and has a mousse-like consistency.
Why isn’t my cheesecake set?
A cheesecake that hasn’t set is usually either underbaked or hasn’t been chilled long enough. Let it chill in the refrigerator overnight for the best texture. If it still seems soft after chilling, refrigerate it for a few more hours before serving.
Do I need gelatine?
No. This recipe does not require gelatine. The cheesecake sets naturally during baking and while chilling, giving it the classic New York cheesecake texture.
Can I use a different biscuit for the base?
Yes. Digestive biscuits work best, but you can also use graham crackers, Oreos, chocolate biscuits, or Hobnobs. Each option gives the cheesecake a slightly different flavour and texture.
Can I use low-fat cream cheese?
Full-fat cream cheese is recommended because it creates a rich, stable filling. Low-fat cream cheese can make the cheesecake softer and may affect how well it sets.
Can I make mini cheesecakes?
Yes. Divide the mixture into a muffin tin or tartlet tins and reduce the baking and chilling times. Mini cheesecakes usually set much faster than a full-sized cheesecake.
What toppings go well with this cheesecake?
Fresh strawberries, raspberries, berry compote, berry coulis, whipped cream, caramel sauce, lemon curd, or even a chocolate drizzle all make excellent toppings. You can also serve it plain for a classic finish.
Can I make individual cheesecakes?
Absolutely. Individual cheesecakes are perfect for parties or special occasions. Simply use muffin tins or small dessert moulds and adjust the baking and chilling times as needed.
Try More Recipes
Mary berry chocolate chip banana bread recipe
Mary berry lime and coconut cake recipe
Mary Berry Marmalade Loaf Cake Recipe
Mary Berry Buttermilk Pancakes Recipe
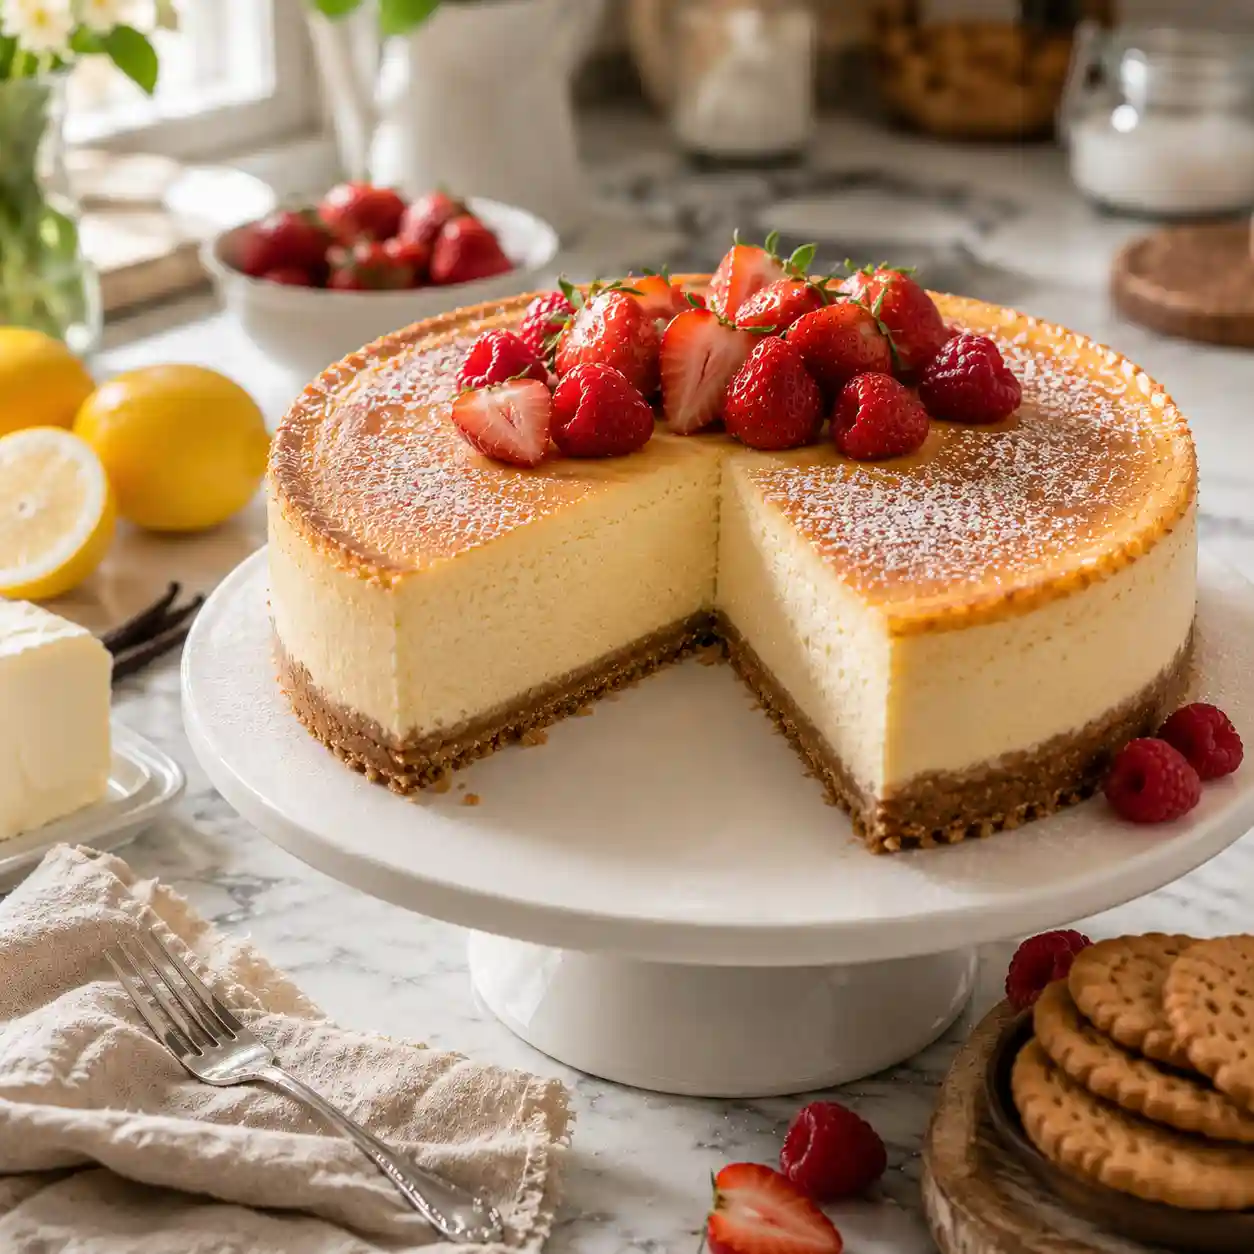

Mary Berry New York Cheesecake Recipe
Ingredients
Equipment
Method
- Preheat the oven to 160°C (140°C Fan/Gas 3) and line a 20cm springform tin with baking parchment.
- Mix the crushed digestive biscuits with melted butter and optional demerara sugar. Press firmly into the base of the tin and chill for 15 minutes.
- Beat the cream cheese until smooth, then mix in the caster sugar, vanilla extract, lemon zest, and lemon juice.
- Add the sour cream, cornflour, and eggs, mixing gently until fully combined without overmixing.
- Pour the filling onto the chilled biscuit base and smooth the surface.
- Bake for 50–60 minutes, until the edges are set but the centre still has a slight wobble.
- Turn off the oven and leave the cheesecake inside with the door slightly open for 1 hour.
- Refrigerate for at least 4 hours, preferably overnight.
- Decorate with fresh berries, berry compote, or a light dusting of icing sugar before serving.
Notes
- Always use room-temperature cream cheese for the smoothest filling.
- Avoid overmixing to prevent cracks.
- Let the cheesecake cool slowly inside the oven.
- Chill overnight for the best texture and clean slices.
- Use full-fat cream cheese for authentic New York cheesecake consistency.