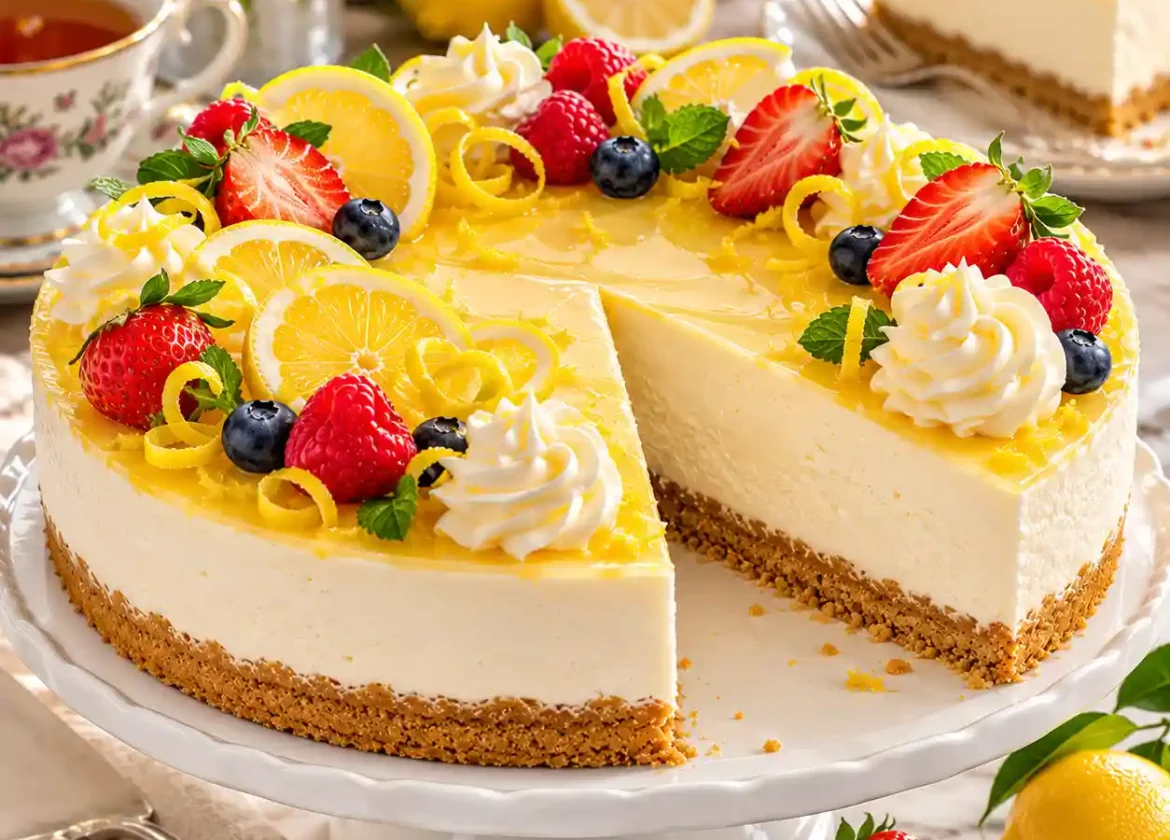
Why You’ll Love This Recipe
This Mary Berry No-Bake Lemon Cheesecake Recipe is absolutely perfect for warmer days when your kitchen feels like an oven and you want to avoid any additional heat. I can’t stress enough how brilliant it is that this no bake lemon cheesecake requires no oven – it’s a lifesaver during those sweltering months when you’re managing busy kitchens or just want something refreshing. The zesty lemon provides such a lovely refreshing contrast to heavier desserts, while the creamy filling delivers real creamy richness that feels indulgent yet summery. What makes this truly irresistible is the combination of that buttery biscuit base with the bright, vibrant tangy topping that brings balanced sweetness to every spoonful. It’s genuinely a crowd-pleaser that works perfectly for a special occasion, dinner party, or a casual family meal on a Sunday afternoon, and it appeals to all ages from toddlers to grandparents.
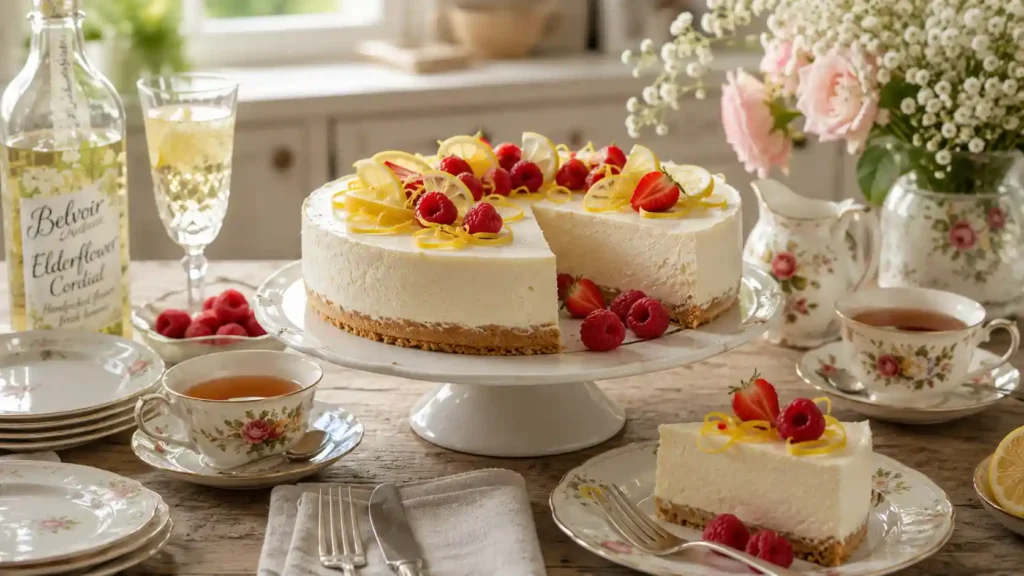
The beauty of this cherished recipe lies in how versatile it is – you can prepare ahead of time, which means reducing stress on your serving day. I’ve entertained countless guests with this dessert, and the relief of knowing it’s made a day or two earlier is priceless. It’s the ultimate make ahead option for anyone juggling schedules, and the result is always delicious and moreish, making it a definite family favourite that keeps people coming back for more on any warm day.
Ingredients
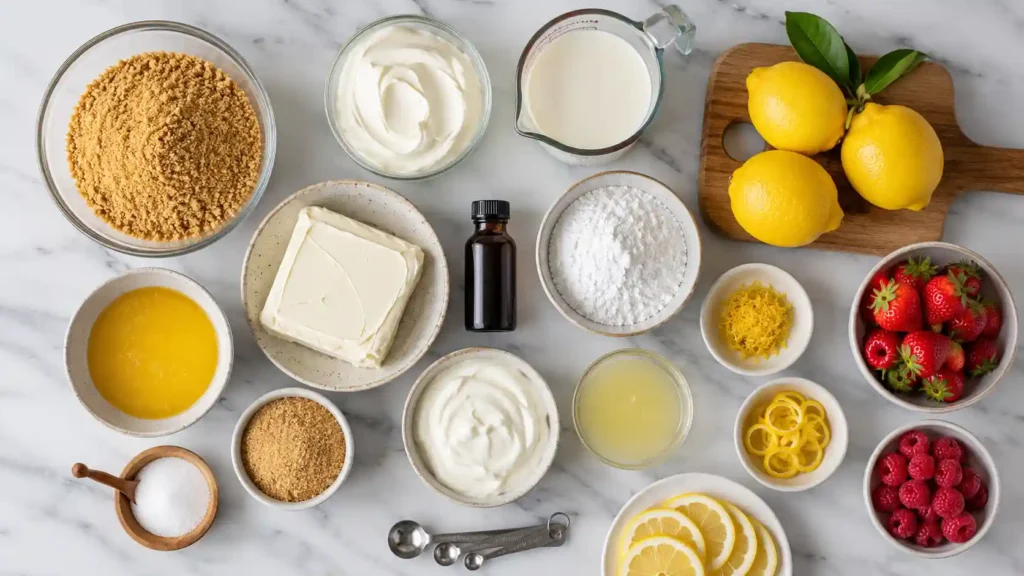
| Ingredient | Quantity | Purpose / Notes |
|---|---|---|
| Digestive biscuits (crushed) | 200g | Forms the crisp, buttery biscuit base. |
| Unsalted butter (melted) | 75g | Binds the crushed biscuits together to create a firm base. |
| Full-fat cream cheese (softened) | 300g | Creates the rich, smooth, and creamy cheesecake filling. |
| Icing sugar | 100g | Sweetens the filling while maintaining a silky texture. |
| Double cream (chilled) | 300ml | Whisked to soft peaks for a light and airy filling. |
| Greek yoghurt | 150ml | Adds creaminess with a slight tang and smooth consistency. |
| Large lemons | 2–3 | Provides fresh lemon juice and finely grated zest for bright citrus flavour. |
| Vanilla extract | 1 tsp | Enhances and rounds out the overall flavour. |
| Lemon slices | To taste (optional) | Decorative topping for a fresh citrus finish. |
| Lemon zest curls | To taste (optional) | Elegant garnish with extra lemon aroma. |
| Fresh raspberries | To taste (optional) | Adds colour, freshness, and a fruity contrast. |
| Fresh strawberries | To taste (optional) | Sweet, fresh topping that pairs well with lemon. |
| Demerara sugar | Optional | Can be sprinkled over the biscuit base for extra crunch. |
| Caster sugar | Optional | Extra sweetness if desired. |
| Additional icing sugar | Approx. 100–120ml (optional) | Adjust sweetness according to personal taste. |
Equipment Needed / Useful Equipment
You don’t need fancy gadgets to create this light, simple masterpiece, though certain tools make the process easier. A 20cm springform tin or loose-bottomed tin (an 8-inch or 9-inch option works too) is essential for easy removal, lined with baking parchment. Stock your workspace with the basics: a large mixing bowl, measuring cups, measuring spoons, and digital scales for precision. A rolling pin or freezer bag works brilliantly for bashing biscuits into fine biscuit crumbs, though a food processor is quicker if you have one.
For mixing and whisking, an electric whisk saves your arm, but a good balloon whisk works just fine – I’ve made this countless times with nothing but a wooden spoon and rubber spatula. You’ll also want a lemon juicer to extract every drop of precious lemon juice, a grater or lemon zester for getting that zest, and a palette knife or metal spoon for spreading the filling smoothly. A microwave-safe bowl is handy for melting butter, and cling film is perfect for covering while you chill everything in your refrigerator – these simple baking tools are all you truly need to achieve perfection.
How to Make Mary Berry No-Bake Lemon Cheesecake
Start by preparing your tin – grease and line it with baking parchment, whether you’re using a 20cm springform tin or loose-bottomed tin. Crush your digestive biscuits into fine biscuit crumbs using a rolling pin and freezer bag, or pulse them in a food processor until they resemble breadcrumbs. Pour in the melted butter – heated gently over low heat in a saucepan or briefly in the microwave – and mix thoroughly until every crumb is evenly coated in that golden, buttery mixture. Press firmly into the base of your tin, creating an even base that’s well compacted using the back of a spoon, then refrigerate for at least 20 minutes to chill to set. While that sets, work on your filling: ensure your cream cheese is at room temperature (this prevents lumps), then whisk it with your sifted icing sugar until smooth. Gently fold in your chilled double cream and Greek yoghurt, whisked to soft peaks, taking care not to curdle the mixture – you want it lump-free, smooth, and airy. Now add the magic: the juice and finely grated zest from your 2–3 large lemons, plus that 1 tsp of vanilla extract, whisking until everything is fully combined and you have that gorgeous lemon flavour throughout.
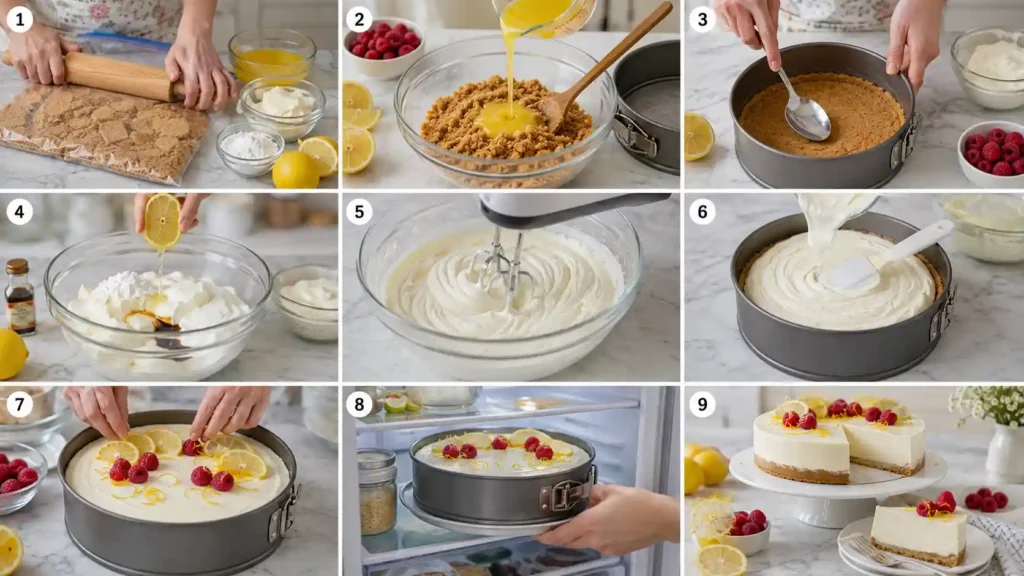
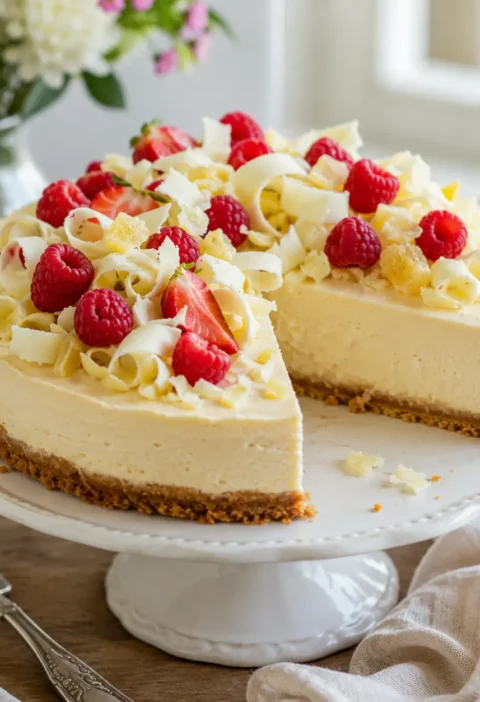
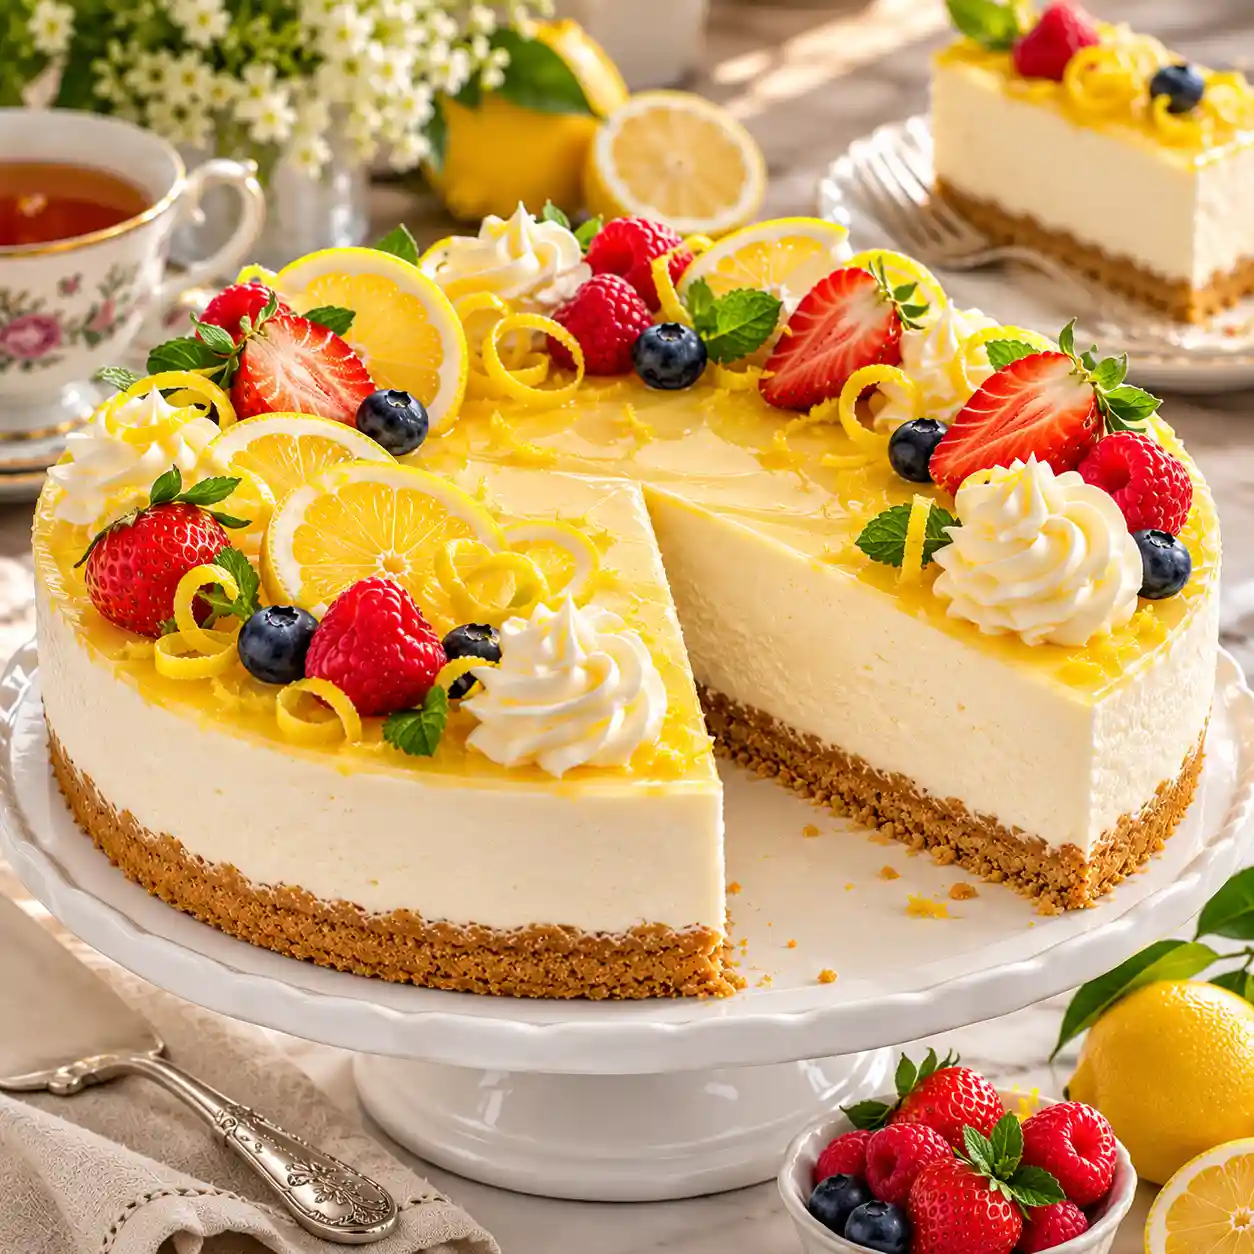
Spoon your silky, thick creamy filling onto your chilled biscuit base, using a spatula or palette knife to create an even surface that catches the sunshine beautifully when brought to the table. Cover loosely with cling film and refrigerate for at least 4–6 hours, though overnight is even better for a truly sliceable result. When you’re ready to serve, loosen the edges with a sharp knife (running it under hot water helps) before removing from the tin and sliding onto your serving plate – this is the moment of truth! To decorate, add thin lemon slices, delicate zest curls, whipped cream, or fresh berries like raspberries for a light, refreshing finish that makes every slice look like perfection. I always find that letting children and kids help with the earlier steps – mixing, bashing biscuits, and even squeezing the lemon juicer – makes them feel invested in this easy, delicious creation. There’s something special about this no heat recipe that transforms an ordinary Sunday afternoon into a celebration of vibrant citrus, and within 20 minutes of preparation plus chilling time, you’ve got a showstopper dessert that tastes like you spent hours in the kitchen creating absolute moreish magic.
Tips
Getting a firm cheesecake that slices beautifully comes down to understanding how each component works together. The key is ensuring your biscuit mixture forms a truly compact base – I always use the base of a glass to press everything down tightly packed so it actually hold[s] together when sliced. For the filling itself, the magic happens when you whip your cream to soft peaks before folding it into the filling – this creates that impossibly light texture that makes the final result so lemony and irresistible. Don’t rush the chilling stage; your cheesecake needs to set properly, and while people often ask if a few hours is enough, I’ve found that refrigerating it overnight truly gives you the best results. If you’re worried your cheesecake is too soft, check whether your cream was genuinely whipped enough and that it’s been chilled long enough – most problems solve themselves with patience.
When it comes to flavour adjustments, an extra teaspoon of lemon zest or splash of lemon juice can be added to taste, so don’t hesitate to adjust as needed. I often have friends watch me make this and they’re surprised by how forgiving it is – the filling is quite flexible once you understand these fundamental principles. The biscuit mixture really is the foundation of everything, so spending that extra minute getting it compact and tightly packed pays dividends when you come to serve it days later. I’ve learned that even small tweaks in how you handle the folding and the duration of chilling can transform a good cheesecake into one that genuinely impresses.
Perfect Substitutions
I’ve experimented with every base imaginable, and while digestive biscuits are traditional for British cheesecakes, you can absolutely swap them for rich tea biscuits, ginger nuts, shortbread, or even graham crackers if that’s what you have at home – each brings a slightly different character to your biscuit base. For the butter component, unsalted butter is ideal for control, but salted butter works fine if you add a tiny pinch of salt to balance things. When it comes to the cream cheese itself, full-fat cream cheese delivers the best results, though lower-fat cream cheese can work in a pinch, and I’ve even successfully substituted it with mascarpone when I was out of the real thing – it creates a richer, more indulgent texture. The filling flavour is equally adaptable: if regular white sugar feels too plain, try granulated sugar instead of icing sugar (though you’ll need to make sure it’s dissolved completely to avoid that awful grainy texture), or experiment with a lime cheesecake using limes instead of lemon.
The richness and stability of your cheesecake also depend on what cream you choose – double cream is my go-to, but whipping cream or heavy cream both work, though they may create less firm results that affect your flavour profiles slightly. I’ve found that swapping ingredients isn’t about being careless; it’s about understanding how each component contributes to the final dish. When you use mascarpone instead of standard cream cheese, you get more luxuriousness but less tang, so you might want slightly more lemon juice to compensate. The beauty is that once you master the basic structure, you can confidently play with these substitutions knowing exactly what impact each choice will have on your finished cheesecake.
Serving Suggestions
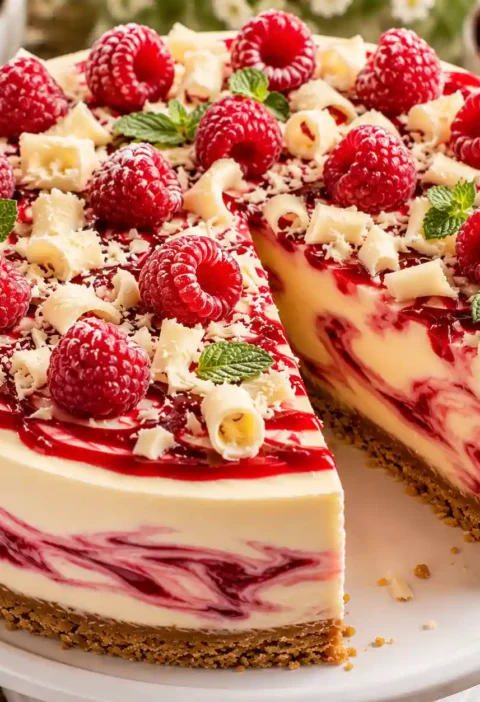
The ideal way to serve chilled is straight from the fridge after a few hours, and when it comes to serving, the presentation matters almost as much as the taste itself. Top your slices with fresh raspberries and strawberries, or go for a mixed berry coulis drizzled across the plate for extra citrus flavour that plays beautifully with the lemony base. A light dust of icing sugar over the top (not too heavy – just a gentle dust lightly) alongside some zest curls and perhaps a dollop of crème fraîche transforms a simple serving into something that looks restaurant-worthy. Add some toasted almonds
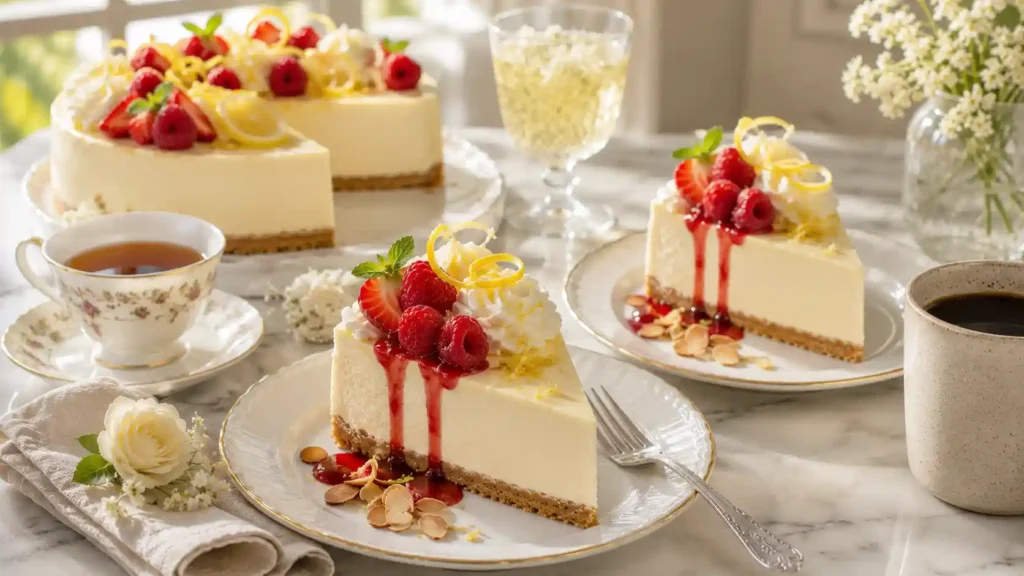
for fruit textural contrast, or go classic with a quenelle of whipped cream on the side – I promise the combination never gets old. For an indulgent experience, this complements beautifully with Earl Grey tea or a strong black coffee, both of which pair wonderfully with the tangy sweetness, or if you want something lighter, a glass of sparkling elderflower cordial provides a refreshing foil.
Storage / How to Store & Reheat
Store your cheesecake covered to prevent any fridge odours from affecting that delicate fresh cream and cream cheese flavour – I use cling film to cover tightly around the edges, though you can also store covered in an airtight container. It’ll keep beautifully for up to 3–4 days in the refrigerator, and honestly, it often tastes even better on day two or three as the flavours meld. If you want to get ahead, this is one of those rare desserts that actually freezes well: wrap your slices carefully and freeze for up to 2 months, then simply thaw overnight in the fridge before serving. There’s absolutely no reheating needed – this cheesecake is meant to be best served chilled and served chilled, coming straight from the fridge when you’re ready to eat. The only caveat is to avoid leaving it at room temperature for more than 1 hour, as this can create an undesirable watery texture during the thawing process.
When you’re refrigerateing for short-term storage, cover loosely rather than sealed if you’re only keeping it a day or two, as this allows tiny air circulation. I often prepare this day before a gathering, making ahead takes all the pressure off serving day – everything is refrigerated and ready to serve without any last-minute fuss. The best texture really does come from giving it adequate chilling time, so resist the urge to rush if you can.
Nutrition
Each serving contains approximately 420 kcal, with carbohydrates totalling around 30g, protein at about 5g, and fat making up roughly 31g (of which saturated fat accounts for about 18g). Sodium comes in at approximately 230mg per slice. Keep in mind these nutrition values are approximate since they depend on the specific ingredients used and can vary based on your exact brand choices – using lower-fat cream cheese instead of full-fat, for instance, would notably reduce the calorie and fat content. If you’re tracking macros, the relatively high fat content comes primarily from the cream and cheese, which is perfectly normal for a traditional cheesecake.
What Else Can You Make With Lemons?
Once you’ve mastered this no-bake lemon cheesecake and fallen in love with the bright flavour, there’s an entire world of lemon recipes waiting to be explored. Mary Berry herself has created some brilliant options like Mary Berry’s lemon cupcakes, Mary Berry’s iced lemon traybake, and if you want to go sweet and savoury, lemon meringue cheesecake offers an interesting twist. You can make lemon sponge cake, lemon biscuits, lemon blueberry loaf, lemon curd muffins, lemon curd tarts, lemon drizzle cupcakes, individual lemon tartlets, lemon blueberry muffins, and the classic lemon meringue pie – honestly, once you start, you won’t want to stop. If you ever have leftover lemons and you’re keen on using up lemons, these lemon recipes give you endless ways to use them.
Mary Berry No-Bake Lemon Cheesecake Recipe (FAQs)
How long does a no-bake lemon cheesecake need to set?
A no-bake lemon cheesecake should chill in the refrigerator for at least 4 hours to set properly. For the smoothest texture and clean slices, leaving it overnight is highly recommended.
Can I make this cheesecake in advance?
Yes. This cheesecake is perfect for making ahead. Preparing it one day before serving allows it to set completely, making it easier to slice and serve while reducing stress on the day of serving.
Can I use bottled lemon juice instead of fresh lemon juice?
Yes, bottled lemon juice can be used if necessary. However, fresh lemon juice provides a brighter, fresher flavour, and adding freshly grated lemon zest will noticeably improve the overall taste.
What biscuits work best for the base?
Digestive biscuits are the traditional choice for British no-bake cheesecakes because they create a crisp, buttery base. If you don’t have digestive biscuits, graham crackers or shortbread biscuits are excellent alternatives and work just as well.
What are the secrets to a perfect no-bake lemon cheesecake?
Try More Recipes
Mary Berry Malteser Cheesecake Recipe
Mary Berry Chocolate Orange Cheesecake Recipe
Mary Berry Crumble Cheesecake Recipe
Mary berry lime and coconut cake recipe

Mary Berry No-Bake Lemon Cheesecake Recipe
Ingredients
Equipment
Method
- Grease and line a 20cm springform tin with baking parchment.
- Mix the crushed digestive biscuits with the melted butter until evenly coated.
- Press the mixture firmly into the base of the tin and chill for 20 minutes.
- Beat the softened cream cheese with the icing sugar until smooth.
- Whisk the chilled double cream to soft peaks, then fold in the Greek yoghurt.
- Add the lemon zest, lemon juice, and vanilla extract, mixing until fully combined.
- Gently fold the cream mixture into the cream cheese mixture until smooth and airy.
- Spoon the filling over the chilled biscuit base and smooth the top with a spatula.
- Cover with cling film and refrigerate for at least 6 hours, preferably overnight.
- Remove from the tin, decorate with your favourite toppings, slice, and serve chilled.
Notes
- For the best texture, chill the cheesecake overnight.
- Always use full-fat cream cheese for a firm, creamy filling.
- Fresh lemon juice and zest provide the brightest citrus flavour.
- Do not overmix after adding the lemon juice to avoid curdling.
- Store covered in the refrigerator for up to 3 days.